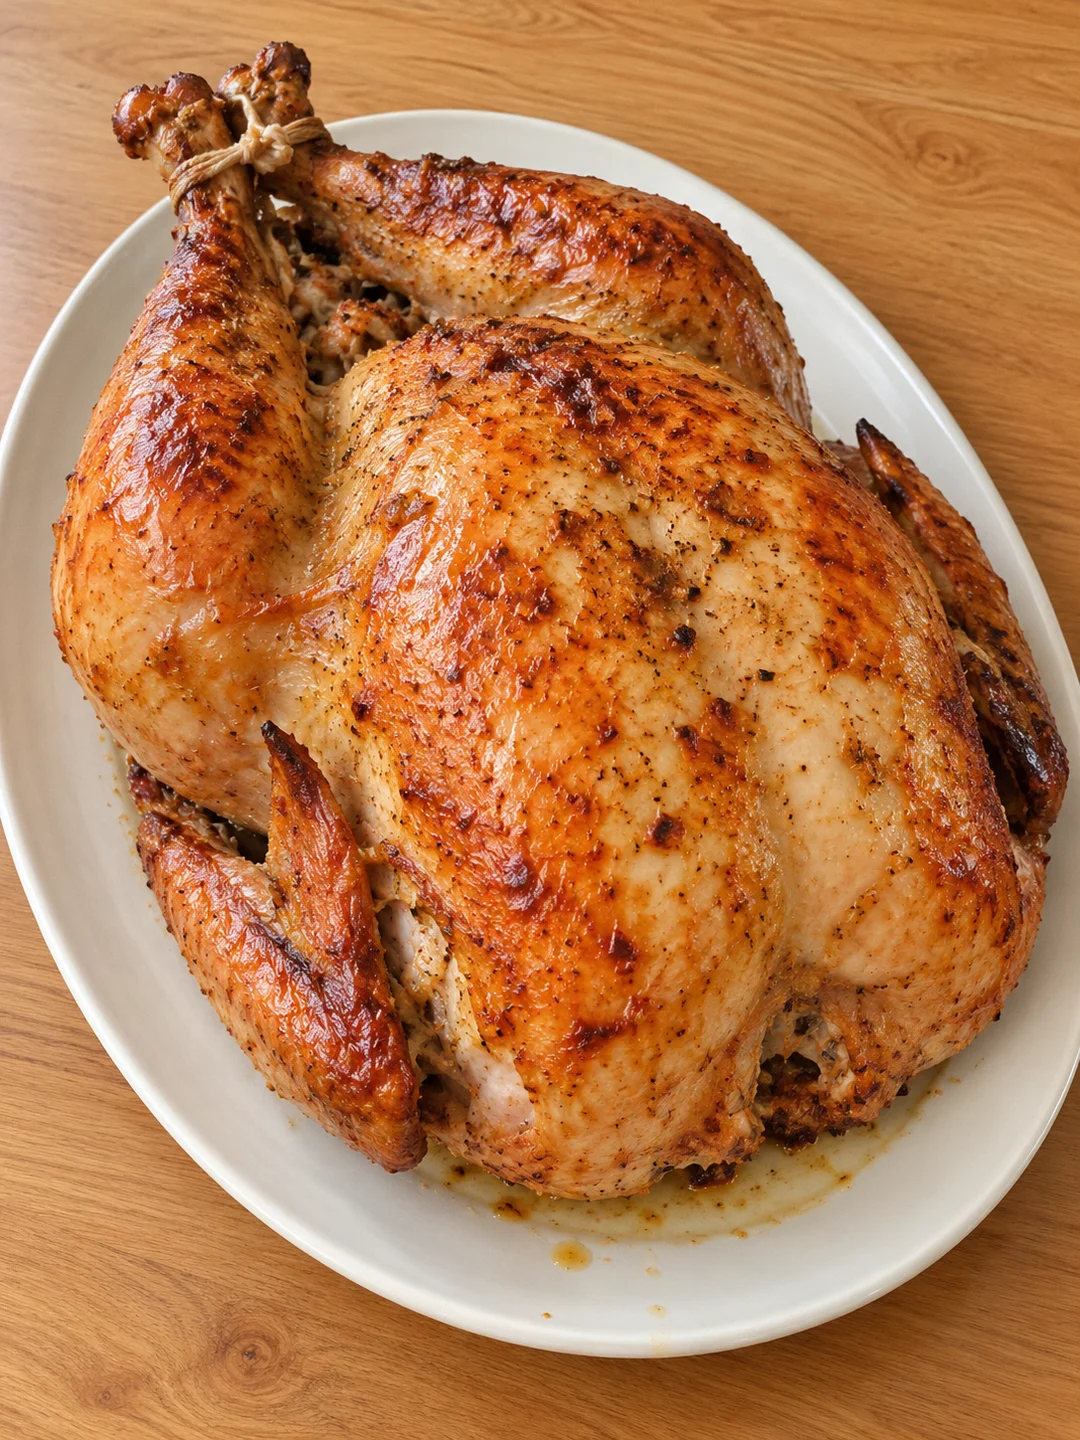
Ingredients
Equipment
Method
- Three days before you want to eat, remove the neck and giblets from the turkey and reserve them in the refrigerator for stock or gravy. Pat the bird completely dry inside and out with paper towels. Do not rinse it.
- Slide your fingers between the skin and the meat over each breast half, then over each thigh, loosening the skin without tearing it. Work carefully from the neck end and the edge of the cavity.
- Measure the salt. Rub about half of it directly on the meat under the loosened breast and thigh skin, pressing it in with your fingers. Sprinkle about 1 teaspoon inside the body cavity and rub the rest over the outside of the bird, concentrating it on the thick parts of the breast and legs and using less on the wings.
- Seal the turkey in a large plastic bag, pressing out the air, or set it in a covered pan. Refrigerate for 2 days, turning the bird over after about 24 hours so the salt distributes evenly. Do not add any liquid.
- Eight to twelve hours before roasting, take the turkey out of the bag, pat it dry, and set it breast up on a rack in the roasting pan. Return it to the refrigerator completely uncovered so the skin dries out. It will look taut and slightly translucent when it is ready. This step is what gives you crisp skin.
- Pull the turkey out of the refrigerator 1 hour before roasting and let it stand at room temperature. Position a rack in the lower third of the oven and heat the oven to 450 F.
- Pat the bird dry once more and season it all over with the coarsely ground black pepper. Add no more salt. Stuff the cavity with the thyme sprigs, parsley, onion halves, and apple halves.
- Rub the softened butter onto the meat under the breast and thigh skin, spreading it in an even layer with your fingers from the outside. Smear any remaining butter over the outside of the skin.
- Truss the bird: tie the legs together at the ankles and tuck the wing tips behind the shoulders. Set it breast up on the rack in the roasting pan.
- Roast at 450 F for 30 minutes, until the skin has begun to brown and tighten.
- Reduce the oven to 350 F. Lay a loose sheet of foil over the breast and shield the wing tips, and pour the wine into the bottom of the pan. Do not salt the pan liquid.
- Continue roasting about 2 hours, adding a splash of water to the pan if it threatens to dry out. Do not baste and keep the oven door closed as much as possible. Start checking at the 1 hour 30 minute mark if your bird is on the smaller side.
- The turkey is done when an instant-read thermometer pushed into the thickest part of the thigh, away from the bone, reads 160 to 165 F. Remove the foil for the last 15 minutes if the skin needs more color.
- Transfer the turkey to a carving board, tent it loosely with foil, and rest at least 30 minutes. The temperature will climb a few degrees and the juices will settle.
- While the bird rests, set the roasting pan over medium heat, scrape up the browned bits, and simmer the pan juices down for gravy. Taste before adding anything: the drippings are already seasoned from the cure.
- Discard the cavity aromatics, carve the turkey, and serve with the pan gravy and the juices from the board.